
Bright travel destinations can make or break your photography game. Those stunning white sand beaches, snow-capped mountains, and sun-drenched cityscapes look amazing in person, but they can turn your photos into overexposed disasters faster than you can say ‘vacation snapshot.’ The intense light that makes these places so beautiful also creates some serious challenges for photographers.
Don’t worry though — capturing great shots in these tricky conditions isn’t rocket science. It just takes a few smart techniques and some preparation before you start snapping away. Here is a list of 15 photo tips that’ll help you nail those bright-light shots and come home with images that actually look like the incredible places you visited.
Lower Your ISO to 100
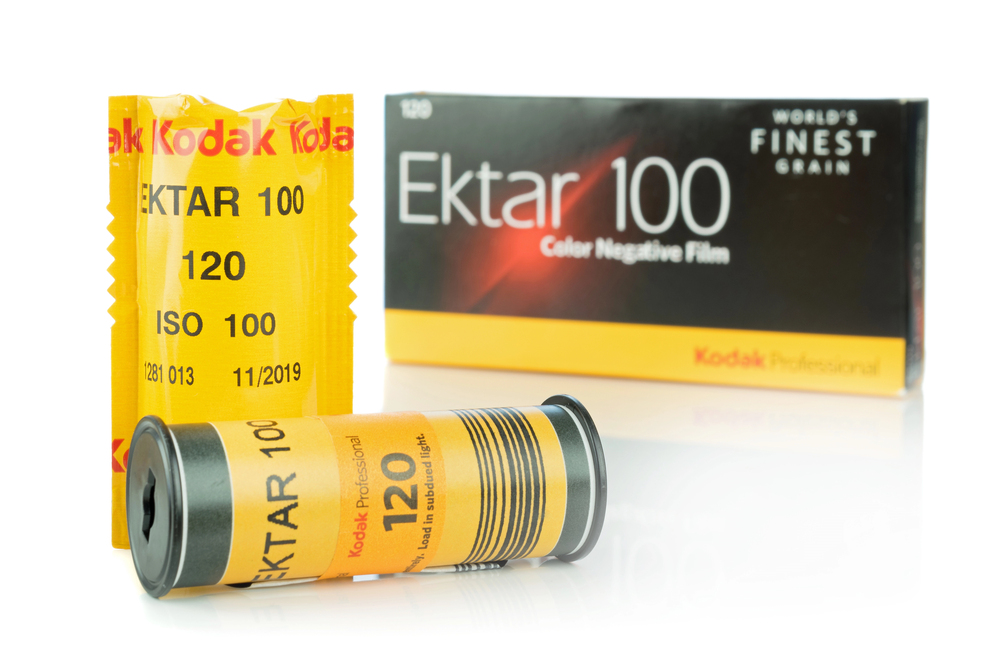
— Photo by gcpics
Think of ISO like your camera’s sensitivity to light — the lower the number, the less sensitive it becomes. In bright conditions, you want your camera to be as picky as possible about light. Setting your ISO to 100 gives you the cleanest, sharpest images without that grainy noise that higher ISOs create. It’s like turning down the volume on an already loud concert — you still get all the details, just without the overwhelming intensity.
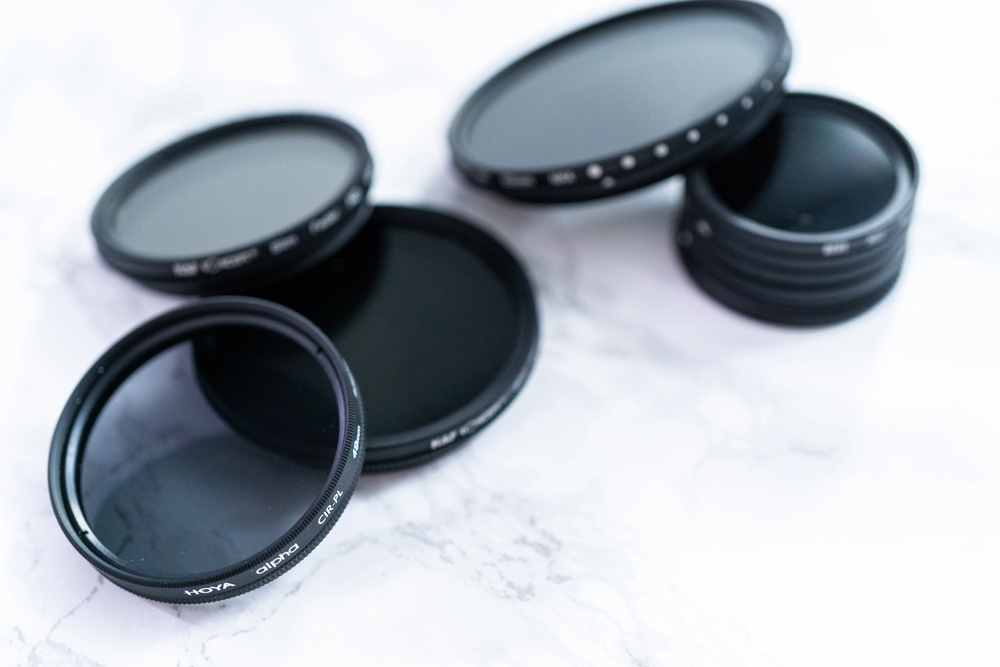
Use a Polarizing Filter
A polarizing filter works like premium sunglasses for your camera lens. It cuts through glare bouncing off water, wet surfaces, and even leaves, making colors pop and skies look deeper blue. The filter also helps manage reflections that can wash out your photos in bright conditions. Think of it as your secret weapon for making those tropical waters look crystal clear instead of like a bright white mirror.
Shoot During Golden Hour

The hour after sunrise and before sunset gives you that warm, soft light that makes everything look magical. Instead of fighting harsh midday sun, work with nature’s natural softbox. Professional photographers swear by this timing because the light comes in at an angle, creating dimension and avoiding those unflattering shadows that the noon sun creates. Your travel photos will instantly look more professional and inviting.
Expose for the Highlights

When in doubt, it’s better to have a slightly darker photo than a completely blown-out one. Modern cameras can pull details out of shadows much better than they can recover pure white areas where all the information is lost. Set your camera to underexpose by about 1/3 to 2/3 of a stop when shooting in very bright conditions. You can always brighten the darker areas later, but you can’t bring back details that were never captured.
Find Open Shade
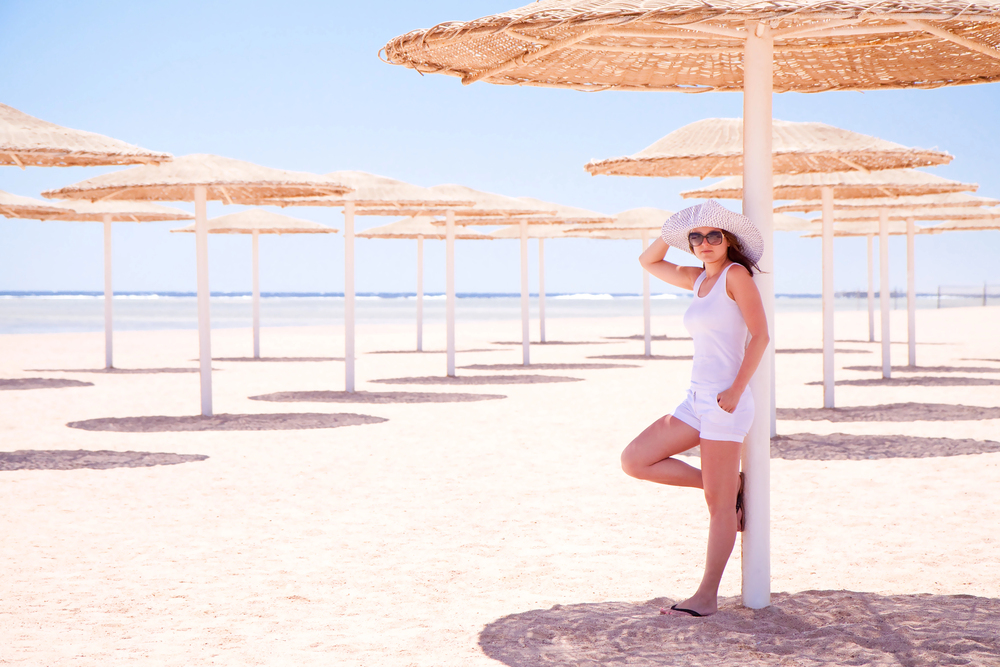
Look for natural shade created by buildings, cliffs, or large structures where the light is still bright but diffused. This gives you even lighting without the harsh contrasts that direct sunlight creates. Beach umbrellas, covered markets, and the shadow side of monuments become your best friends. The light in these spots is still plenty bright for great photos but much more manageable for your camera.
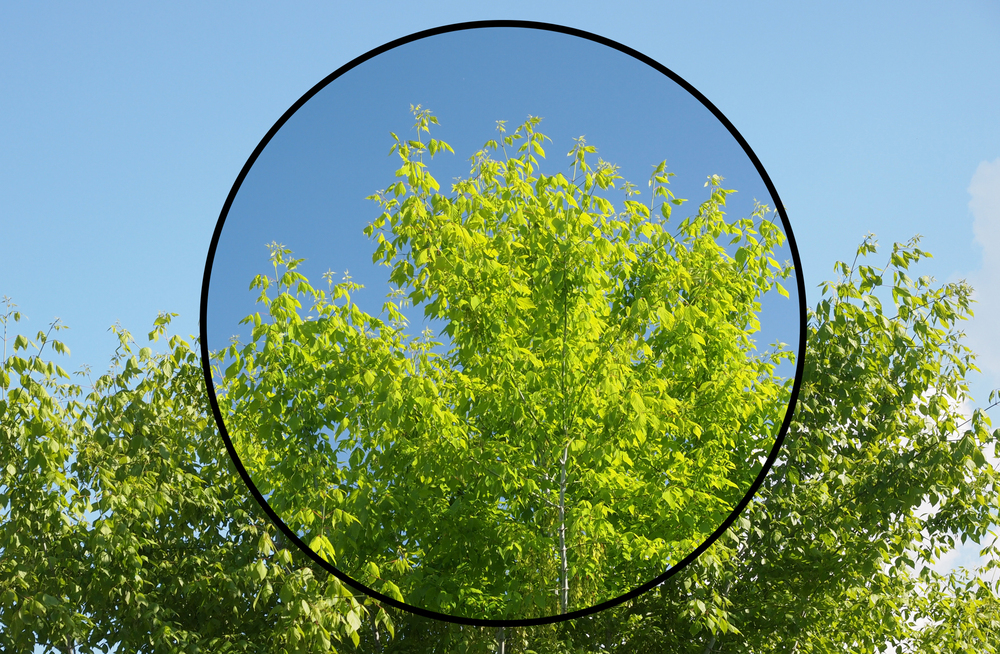
Use Spot Metering Mode
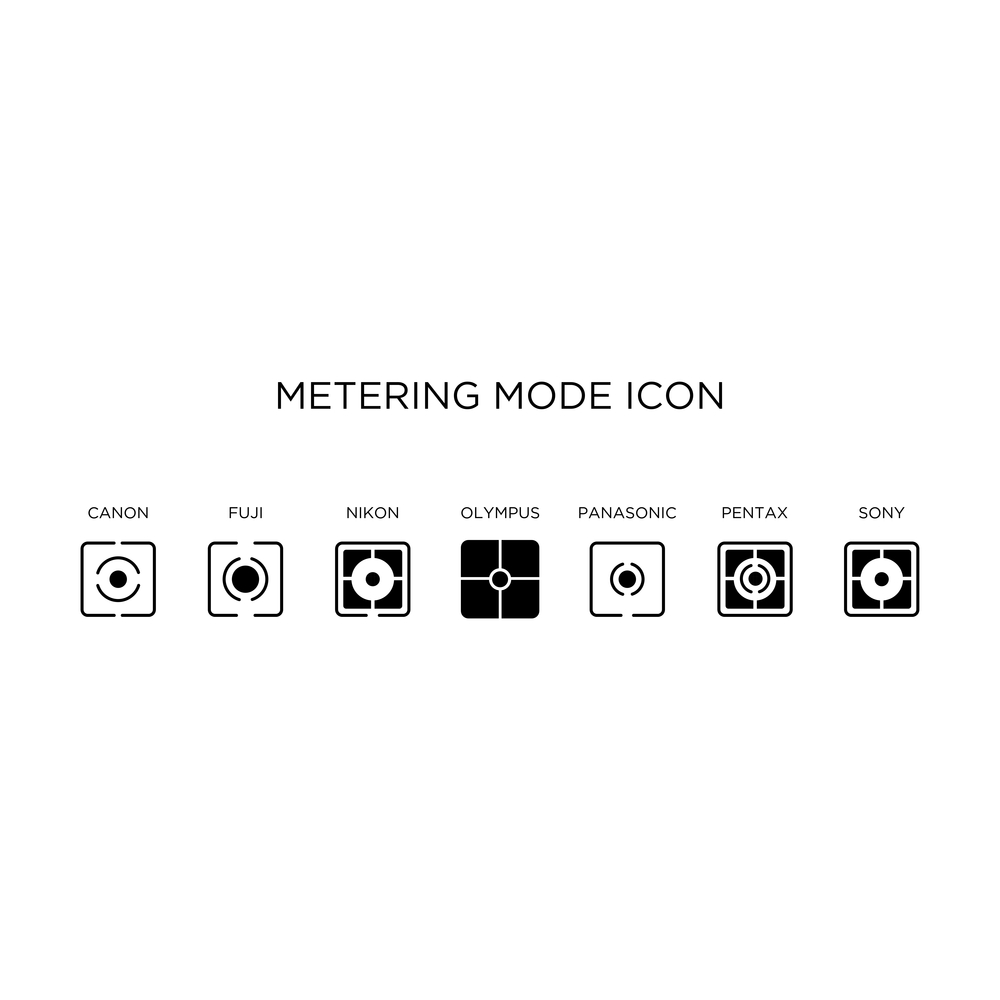
Switch your camera’s metering mode from the default matrix setting to spot metering when dealing with extreme brightness. This tells your camera to measure light from just a small area in the center of your frame rather than averaging the entire scene. It’s particularly useful when photographing people against bright backgrounds like snow or sand. Your camera will expose for your subject instead of being fooled by all that brightness around it.
Bracket Your Shots

Take multiple photos of the same scene at different exposures — one normal, one darker, and one brighter. This technique, called bracketing, gives you options when you’re editing later. Sometimes the ‘correct’ exposure according to your camera isn’t the most appealing one for the mood you want to create. Having multiple versions means you can pick the best one or even combine them for the perfect shot.
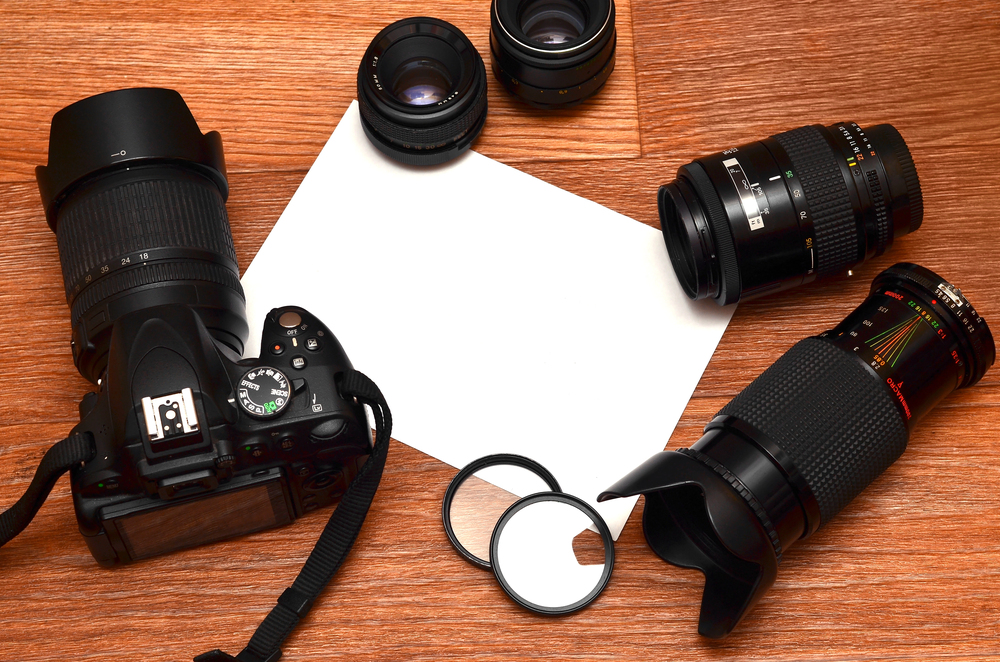
Shoot in RAW Format

RAW files contain much more information than JPEGs, giving you incredible flexibility when adjusting exposure and colors later. Think of RAW as having all the ingredients to cook with, while JPEG is like getting a pre-made meal — you can reheat it, but you can’t change the recipe. In bright conditions where you might need to make significant adjustments, RAW files are absolutely essential for getting the best results.
Use Fill Flash Strategically
It sounds backwards, but adding flash in bright conditions can actually improve your photos. When your subject is backlit or in shadow while the background is bright, a small amount of fill flash evens things out. Modern cameras and flashes are smart enough to provide just enough light to balance the exposure without making it look artificial. It’s like adding a gentle spotlight to make sure your subject doesn’t get lost in the shadows.
Compose to Minimize Bright Areas
Instead of fighting the brightness, work around it by changing your composition. Get closer to your subjects, use the bright areas as natural background blur, or frame your shots to include more shaded areas. Sometimes, moving just a few feet to the left or right completely changes how the light hits your scene. Smart composition can turn challenging lighting into a creative advantage.
Invest in a Lens Hood
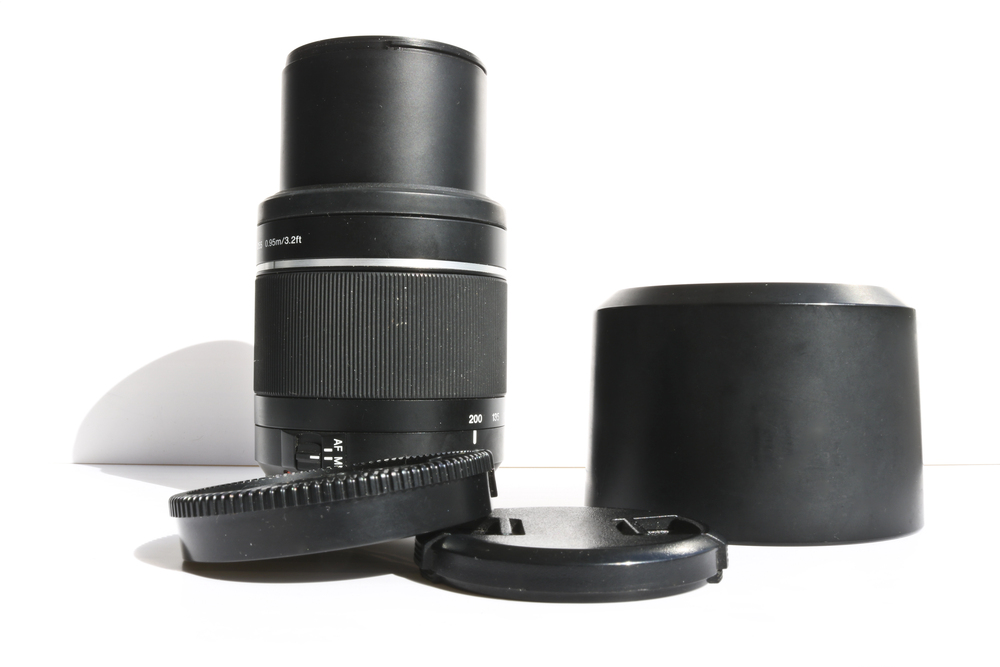
A lens hood blocks stray light from hitting your lens at odd angles, which can cause flare and reduce contrast in your photos. It’s like wearing a baseball cap for your camera — simple but incredibly effective. Many photographers skip this inexpensive accessory, but it makes a noticeable difference in image quality, especially when shooting toward bright light sources. Plus, it offers some physical protection for your lens.
Watch Your Histogram
The histogram is that mountain-shaped graph on your camera’s LCD screen that shows the distribution of light and dark areas in your photo. In bright conditions, you want to avoid having too much information pushed to the right side, which indicates overexposure. Learning to read this simple graph takes the guesswork out of exposure and helps you nail the shot in-camera rather than hoping to fix it later.
Use Graduated Neutral Density Filters
These filters are dark on top and clear on the bottom, perfect for scenes where the sky is much brighter than the foreground. They’re especially useful for landscape photography in places like desert canyons or mountain valleys where the contrast between sky and ground is extreme. Think of them as sunglasses that only cover part of your view — they balance out uneven lighting naturally.
Embrace Silhouettes
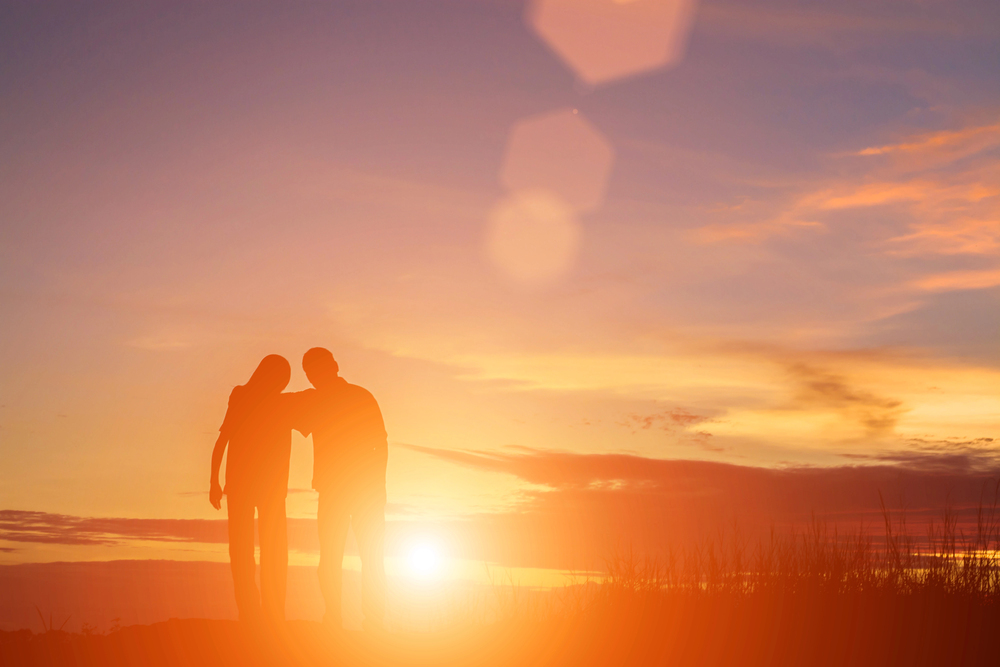
Sometimes the best approach to extreme brightness is to work with it rather than against it. Position your subjects between your camera and a bright background to create dramatic silhouettes. This technique works particularly well during sunrise or sunset, or when photographing people against bright windows or reflective surfaces. The key is making sure your subject has a recognizable, interesting shape that tells a story even without visible details.
Plan Your Shots Around Weather
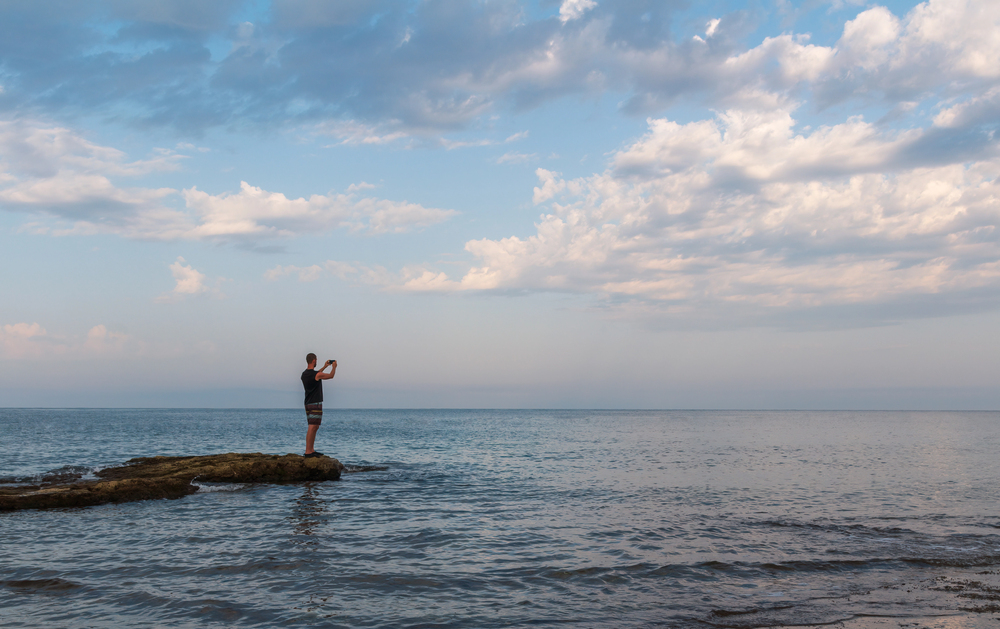
Cloud cover can be your best friend in bright destinations, providing natural diffusion for harsh sunlight. Check weather apps not just for rain, but for cloud patterns that might give you softer, more even lighting. Partly cloudy days often provide the perfect balance — enough light to keep colors vibrant but with occasional cloud cover to tame the intensity. Even light haze or atmospheric conditions can help create more manageable lighting situations.
From Film Days to Digital Freedom
Photography in bright conditions has come a long way since the days when photographers had to choose their film stock carefully and hope for the best. Those old-school shooters developed many of the techniques we still use today, like seeking shade and timing their shots around the sun’s position. Today’s digital cameras give us incredible flexibility to adjust and perfect our images, but the fundamental principles of working with light remain unchanged. The combination of classic techniques with modern technology means we can capture those bright, beautiful travel moments better than ever before, creating memories that truly reflect the amazing places we’ve been lucky enough to visit.
More from Travel Pug

- 20 Best Beach Towns in the Carolinas
- 13 Destinations Where Tourists Regularly Regret Their Trip
- 20 Things You Actually Get in First Class
- 20 Small Airports With Aviation Museums
- 20 Places in the U.S. That Are Perfect for a Reset Trip
Like Travel Pug’s content? Follow us on MSN.